Install migration-center
Last updated
Last updated
Each migration-center component has its own installer and the kit has a main installer that assists the installation of each component.
The three individual components can also be distributed and installed separately with the installers from the following table:
Main installation assistant
setupMigCenter.exe
migration-center WebClient
WebClient/McWebClientSetup.exe
migration-center Database
Database/InstallDataBase.bat
migration-center Server Components (Job Server)
ServerComponents/SPsetup.exe
The installation is started with setupMigCenter.exe, which is found in the root directory of the installation kit.
The installation can be aborted before the component selection step by pressing the Cancel button.
By pressing Back, the user can navigate to the previous pages in order to change or edit options.
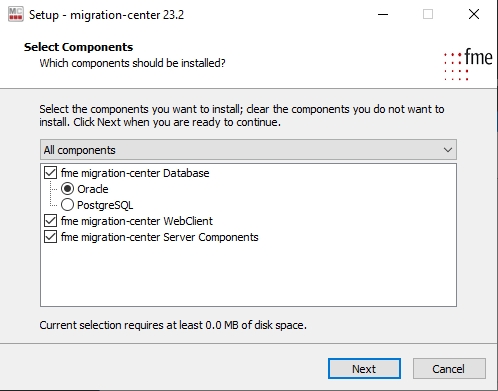
At the following step, the user will choose the components of migration-center to install.
The following are different installation variants:
Full installation All components of migration-center are installed
Compact Installation This variant installs the migration-center WebClient and database only.
Custom installation The user-defined installation allows the user to select specific components.
The full installation is recommended as a first installation option, or a custom installation can be performed by selecting only components that need to be installed.
Although the components can be installed individually, for full functionality at least one instance of each component must be deployed and the components must be able to connect to one another.
By confirming the choice by selecting Next, all chosen components will be installed one after another. For each of the components there will be an individual installation assistant.
The WebClient installer deploys an Apache Tomcat server containing the migration-center WebClient component.
To install the WebClient on a different version of Apache Tomcat than the provided one see Manual Install section.
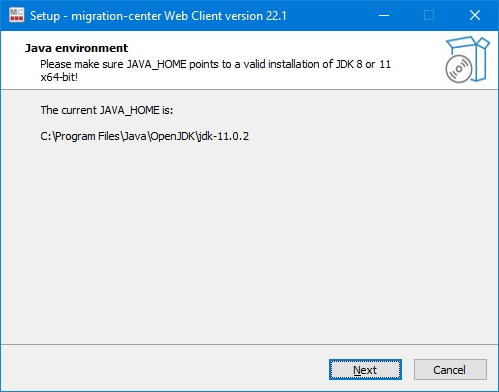
Start the WebClient installer and click Next to proceed.
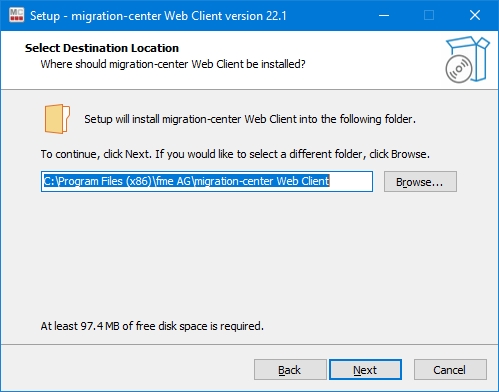
Select the installation path for the application. The default installation path proposed by the installer is recommended but can be changed if needed.
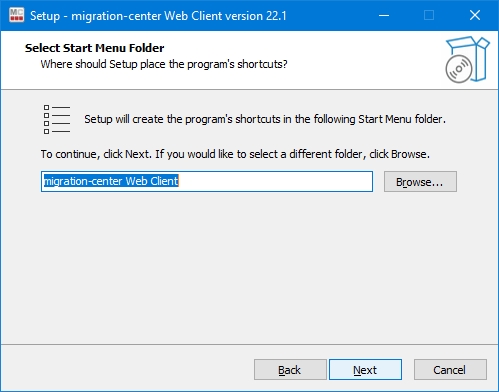
Select start menu folder
The Windows Start Menu shortcuts will be created for migration-center WebClient. The name of the folder for these shortcuts can be set here.
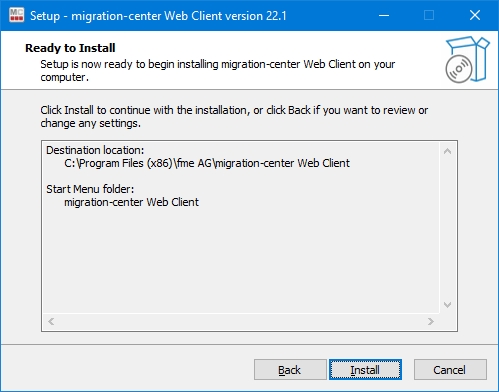
Installation summary
Before starting the installation process, all previously set options are displayed. In order to change settings, the user can navigate to the previous pages by clicking Back. Click Install to start the installation.
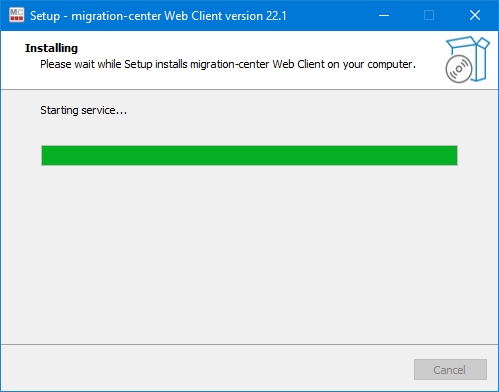
Install in progress
Wait for the install to finish.
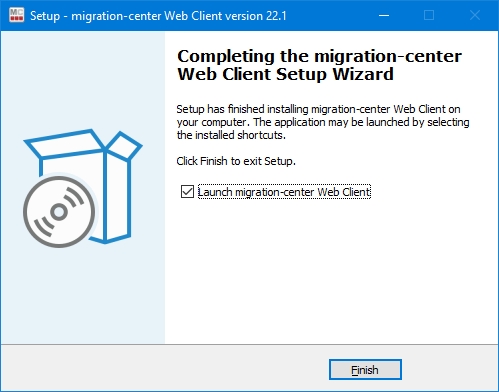
Finish the installation
You have the option of launching the migration-center WebClient after clicking on Finish.
This will open your default browser with the localhost URL for accessing the WebClient https://localhost/mc-web-client
This section described how to install the WebClient on a different version of Tomcat than the one provided in the migration-center package.
Only the following versions were tested by us, other versions could work but we cannot guarantee there aren't any compatibility issues:
version 9.0.87
version 9.0.73 (one provided by migration-center package)
Download the desired Tomcat version and extract it in a folder location. In the following steps /tomcat/ will reffer to the folder where the Tomcat version was extracted to and /kit/ will reffer to the migration-center kit.
From the /tomcat/bin folder, open the catalina.bat file with a text editor.
After the setlocal command paste the following lines and save thje file:
rem Set min and max memory allocation pool with CATALINA_OPTS
set CATALINA_OPTS=-Xms1024m -Xmx4096m
Copy from the serviceMcWebClient.bat and removeMcWebClient.bat files from /kit/Webclient/webclient/bin into the /tomcat/bin folder.
Open the catalina.propertis file from /tomcat/conf . Search for the common.loader property.
At the end of this line append the following text and save the file:
,"${catalina.home}/extra"
Copy the server.xml file from /kit/Webclient/webclient/conf folder and replace it in the /tomcat/conf folder.
Copy the tomcat-ssl.p12 file from /kit/Webclient/webclient/conf folder into /tomcat/conf folder.
Copy the extra folder from /kit/Webclient/webclient into the /tomcat folder.
Delete the following folders: docs, examples, host-manager, ROOT from the /tomcat/webapps folder.
Copy the mc-web-client folder and the mc-rest-api.war file from /kit/Webclient/webclient/webapps into /tomcat/webapps folder.
Open the Windows System Enviroment Variables window and add the following string in the PATH environment variable %SystemRoot%\System32.
Open a Command Prompt with Run as administrator in the /tomcat/bin folder. Then run the serviceMcWebClient.bat script. This will install the windows service.
If you cannot edit system variables, skip step 9 and do the following after step 10:
Open the Windows Services, select Migration Center Web Client and open its Properties. On the Log On tab select Local System Account. Save and start the service.
The WebClient server is delivered with a self signed certificate for localhost. Because the certificate is self signed it is not recognized by the browser as a trusted certificate. Therefore, when accessing the WebClient on localhost the browser will show a disclaimer "Your connection is not private" so first time when accessing the webclient the user needs to confirm by clicking "Proceed to localhost(unsafe)".
To get rid of the "Not secure" warning in the browser any customer can generate a trusted certificate for the machine(s) where the WebClient. To publish the trusted certificate in the WebClient the following steps are required:
Copy the generated certificate (p12) in the conf folder.
Edit the conf\server.xml file with a text editor and change the keystoreFile and keystorePass to match the certificate file name and the certificate password.
3. Restart the WebClient service (Migration Center Web Client)
The migration-center Server Components, or Jobserver, is the part which contains all the connectors that interact with the source and target systems. The installation process will copy the files and also create a windows service.
Before starting the installation you need to set the JAVA_HOME (if using JDK) or JRE_HOME (if using JRE) environment variables.
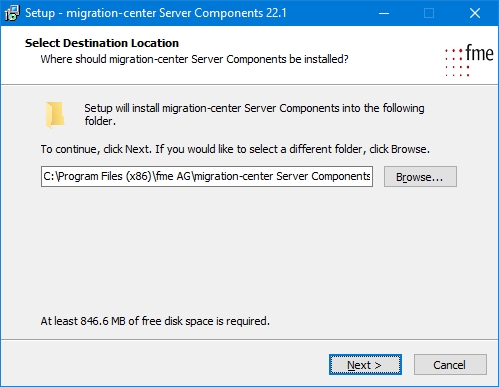
Select destination location
Next, the user will select the installation location for the Server Components. The default installation path proposed by the installer is recommended but can be changed if needed.
Select Job Server port
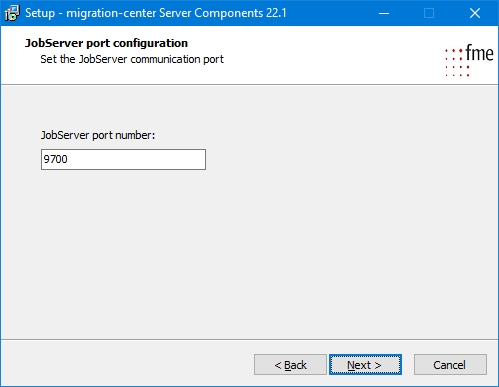
Next you can select the port on which the migration-center Client will communicate with the Jobserver.
The default port is 9700 but any free port can be used.
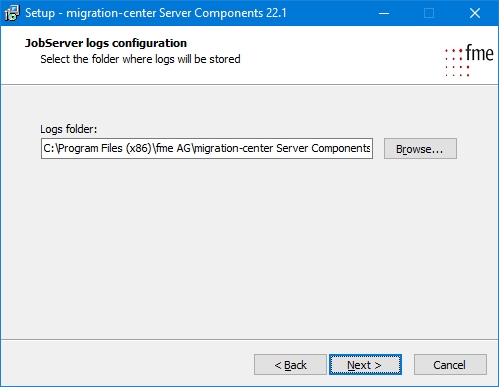
Select log folder location
Default value is the logs folder in the Server Components installation folder, but it can be set to any valid local path or UNC network share. Write access to the log location is needed by the user which under which the Jobserver will be running.
The log location is only set for the connector logs. The server logs location is manually set in the mc-core/logback.xml file, using the FOLDER_LOG property.
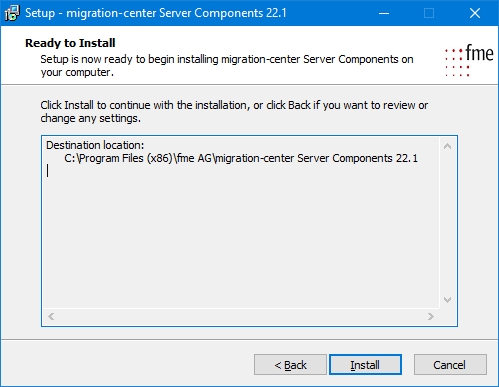
Completion of the installation
Complete the installation by selecting Install.
Not all connectors are available on the Linux version of Server Components. The ones available are:
Scanners: Documentum, Filesystem, Database, eRoom, Exchange
Importers: Documentum, Filesystem, InfoArchive
The Linux version of the migration-center Server Components can be found in the folder ServerComponents_Linux.
In order to install the Migration Center Job Server extract the archive Jobserver.tar.gz in the desired location using the command:
tar -zxvf Jobserver.tar.gz
All necessary Job Server files will be extracted in the “Jobserver” folder.
To install the Job Server as a service / daemon, follow these steps:
1. Switch to the “bin” folder of the “Jobserver” folder
2. Run the command sudo ./installDaemon.sh
Run the installDaemon.sh as a user that has administrative permissions (sudo).
Instead of installing the Job Server as a service/daemon, you can run it in the terminal by executing the script ./runConsole.sh in the bin folder
The default TCP listening port is 9701 and can be changed in “server-config.properties” file located in “lib/mc-core” folder.
For running Documentum Scanner or Importer on Linux the DFC (Documentum Foundation Classes) needs to be configured in “conf/dfc.conf” as it is described in the Scanner and Importer user guides.
Depending on the requirements or possibilities of each migration project, it can make sense to install multiple Job Servers across the environment, either to share the workload, or to exploit performance advantages due to the geographical location of the various source and/or target system, i.e. installing the Job Server on a node as close as possible to the source or target system it is supposed to communicate with.
In terms of throughput, local installations will provide benefits over remote installations and local networks will always be faster than remote networks.
Besides throughput, latency needs to be considered as well, since increased latency can affect performance just as much, even leading to timeouts or connection breakdowns in severe cases.
The Database installer is started by running the InstallOracleDataBase.bat file. This requires a valid Java installation.
The installer prepares the database for use with migration-center by creating a user, tables, installing the packages containing migration-center functionality and setting default configuration options. All of these objects will be created in a schema called FMEMC. Currently it is not possible to change the schema’s name or install multiple schemas on the same database instance.
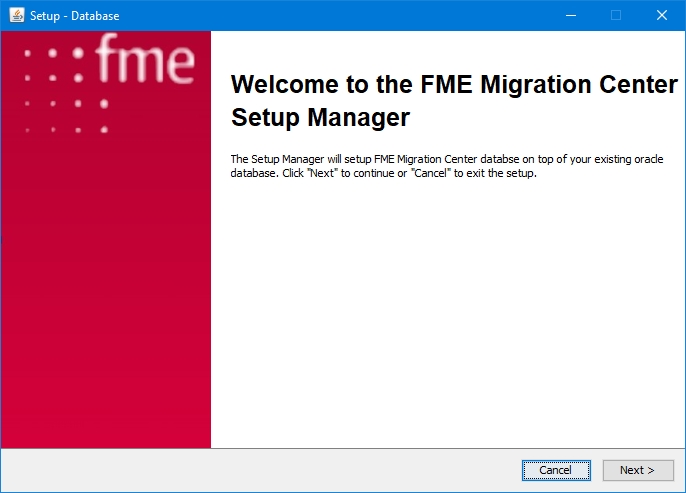
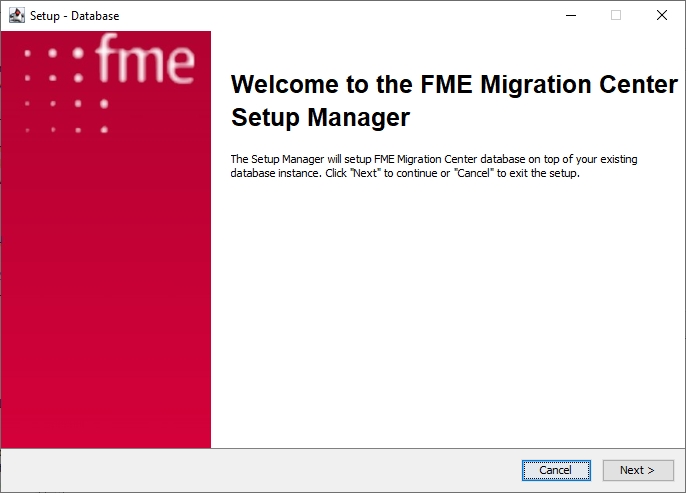
Welcome screen
The first screen containing some general information. Click Next to proceed.
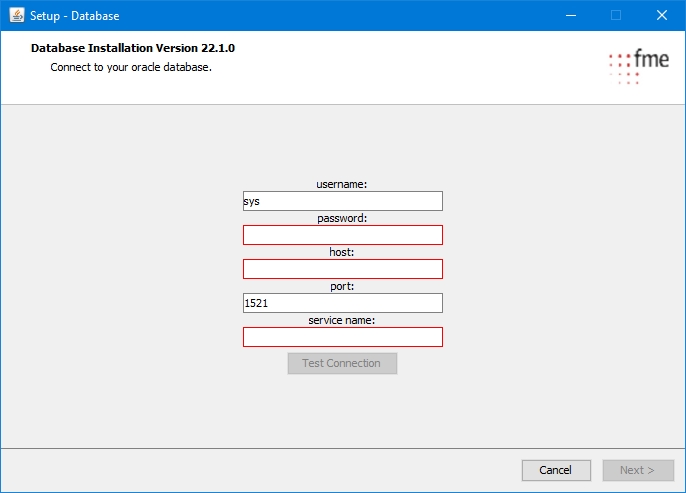
Connection Details
Insert the details for connecting to the database instance where you want to install the migration-center FMEMC schema. Set username, password. The user must be the predefined SYS user or an Oracle administrative user with enough privileges. Then set the database details host, port and service name.
Creating the FMEMC user manually and using it for installing the database is possible. Refer to the Advanced Installation section below for more details.
You can test the details by clicking Test Connection. Click on Next to proceed.
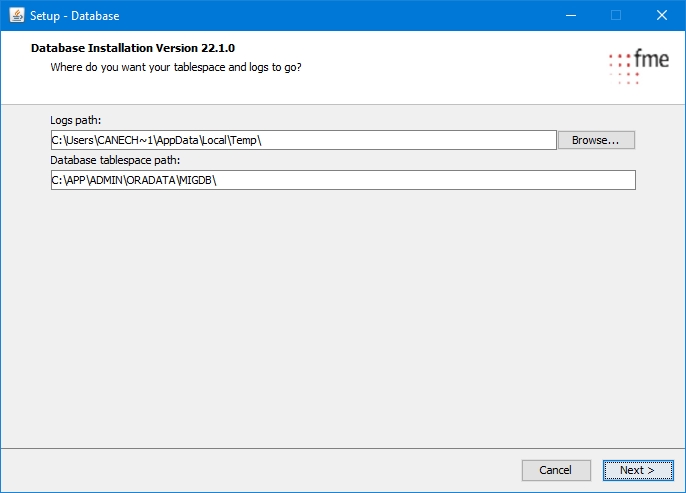
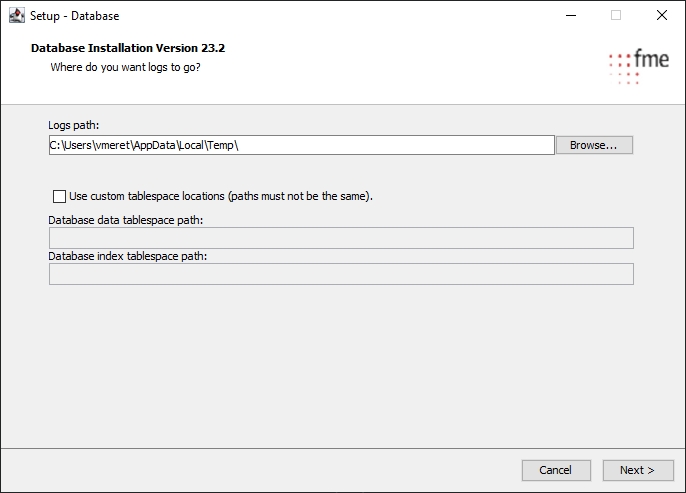
Selecting the logs and tablespaces path
Set the location to create the log files for the database installer.
Set the location for the database tablespaces. The default path provided by the database instance is recommended.
The log file records several database actions run by the setup routine. Therefore, this log data file is very useful for support in case problems occur during the installation.
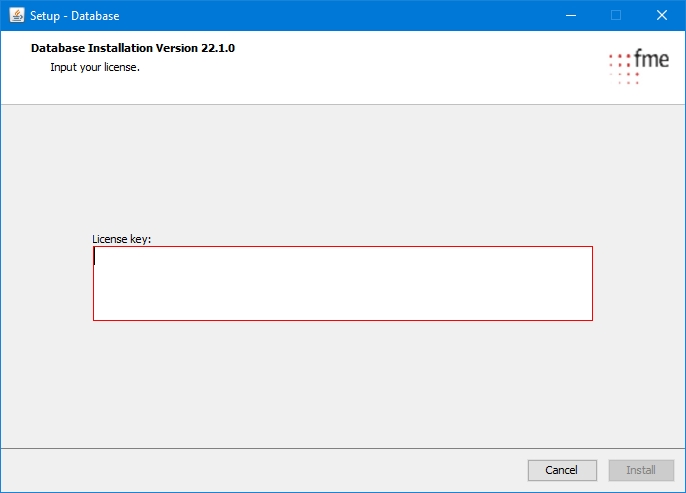
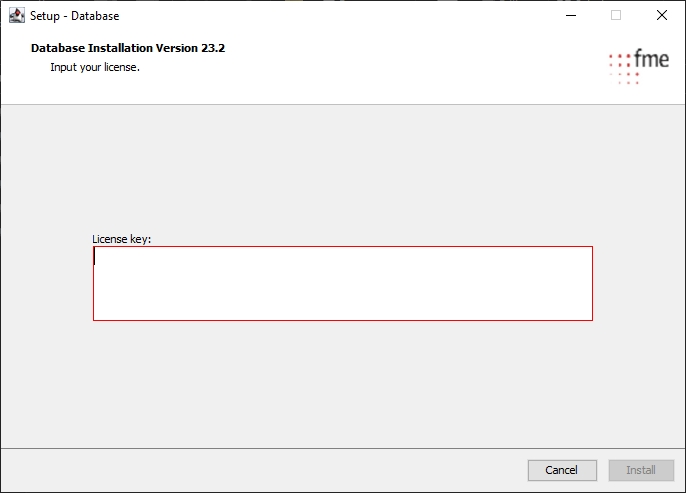
Enter License Key
Insert a valid migration-center license key.
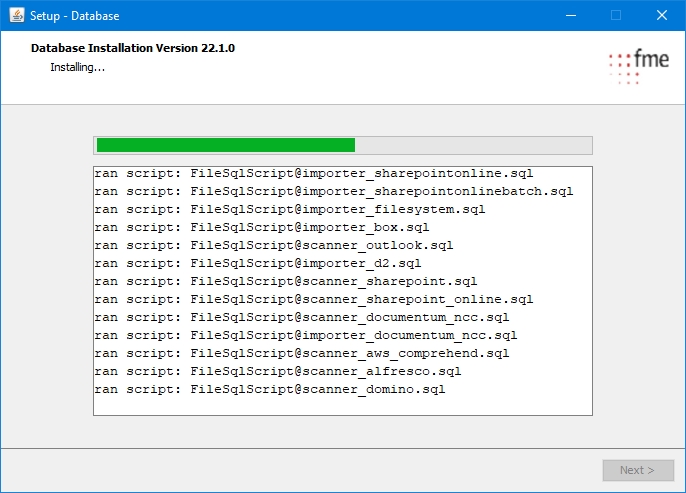
Wait for the install to finish
When the installation finishes click on Next to proceed.
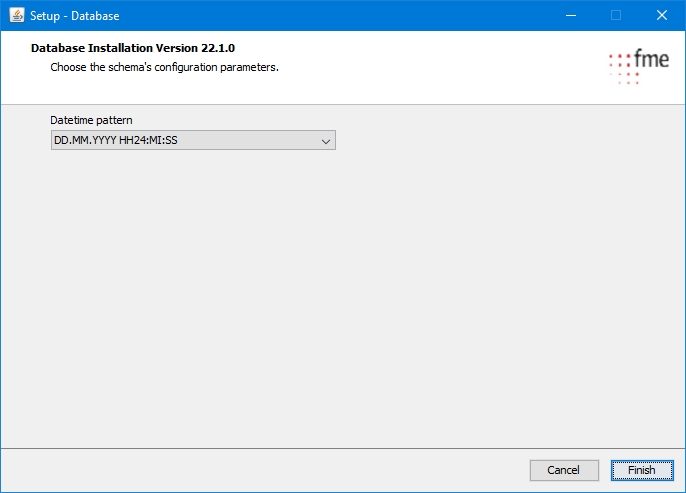
Set date/time pattern
You can set the Datetime Pattern that will be used for displaying date values in the WebClient. The dropdown menu includes of 4 the mostly widely used date/time formats.
Click Finish to complete the installation.
During the installation, the following Oracle Users will be created for migration-center.
User
Authorizations
FMEMC
This Oracle User is the owner of all migration-center objects and tablespaces
Default password is migration123. Password can be changed after authorization.
GRANT CONNECT TO FMEMC
GRANT RESOURCE TO FMEMC
GRANT CREATE JOB TO FMEMC
GRANT SELECT ON SYS.V_$INSTANCE TO FMEMC
GRANT SELECT ON SYS.DBA_DATA_FILES TO FMEMC
GRANT SELECT ON SYS.DBA_TABLESPACES TO FMEMC
GRANT CREATE VIEW TO FMEMC
Additionally the user FMEMC will be granted to use the following Oracle packages:
SYS.UTL_TCP TO FMEMC;
SYS.UTL_SMTP TO FMEMC;
SYS.DBMS_LOCK TO FMEMC;
SYS.UTL_RAW TO FMEMC;
SYS.UTL_ENCODE TO FMEMC;
SYS.DBMS_SCHEDULER TO FMEMC;
SYS.DBMS_OBFUSCATION_TOOLKIT TO FMEMC;
Furthermore, during the installation, the following tablespaces will be created for migration-center:
FMEMC_DATA (40MB)
FMEMC_INDEX (20MB)
These tablespaces are set to expand in steps of 10MBs according to the usage and needs of migration-center.
The user role FMEMC_USER_ROLE will be created and granted the required privileges on FMEMC schema objects. This role must be granted to any database user that needs to use migration center.
The Database installer is started by running the InstallPostgreDataBase.bat file. This requires a valid Java installation.
The installer prepares the database for use with migration-center by creating a user, tables, schemas, installing the packages containing migration-center functionality and setting default configuration options.
The first screen containing some general information. Click Next to proceed.
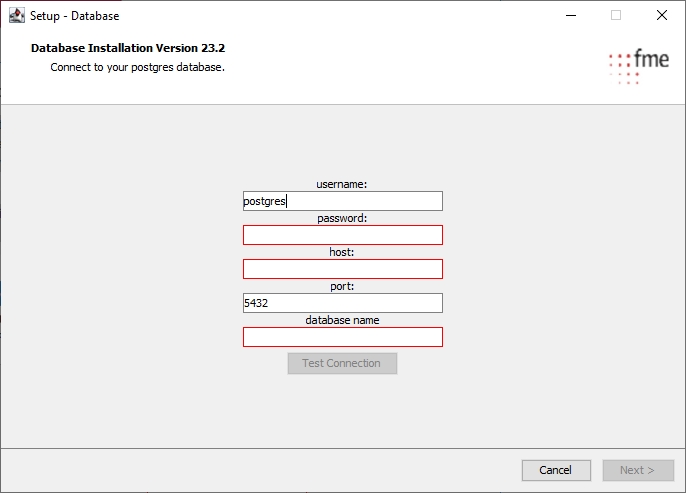
Insert the details for connecting to the database instance where you want to install the migration-center FMEMC schema. Set username, password. The user must be the predefined postgres user or a PostgreSQL administrative user with enough privileges. Then set the database details host, port and database name.
Do not use the default database named "Postgres". That is reserved for manangement and is not meant to be used as an actual database.
Creating the FMEMC user manually and using it for installing the database is possible. Refer to the Advanced Installation section below for more details.
You can test the details by clicking Test Connection. Click on Next to proceed.
Selecting the logs and tablespaces path
Set the location to create the log files for the database installer.
Set the location for the tablespaces if custom table space locations are selected.
The log file records several database actions run by the setup routine. Therefore, this log data file is very useful for support in case problems occur during the installation.
Enter License Key
Insert a valid migration-center license key.
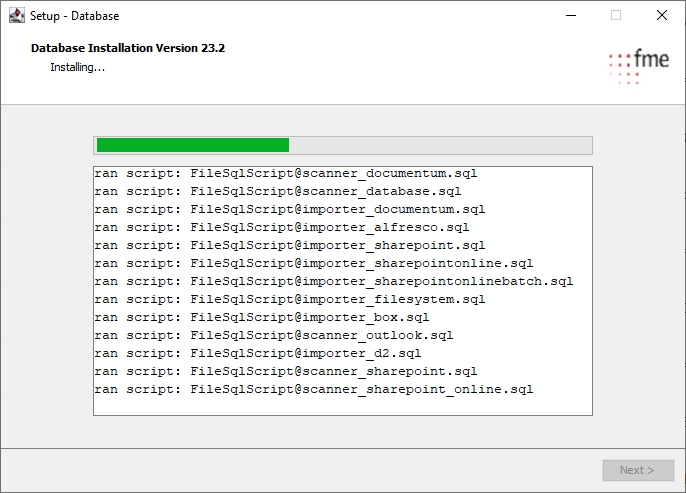
Wait for the install to finish
When the installation finishes click on Next to proceed.
Set date/time pattern
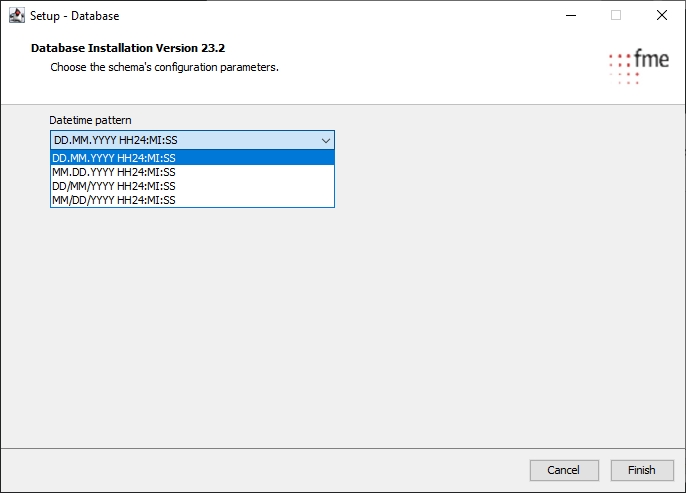
You can set the Datetime Pattern that will be used for displaying date values in the WebClient. The dropdown menu includes of 4 the mostly widely used date/time formats.
Click Finish to complete the installation.
User
Authorizations
FMEMC
This User is the owner of all migration-center objects and tablespaces
Default password is migration123. Password can be changed after authorization.
The FMEMC user will be created as a Superuser.
Tables and indexes will be created in the default Tablepace unless custom tablespace locations were specified.
The user role FMEMC_USER_ROLE will be created and granted the required privileges on all created schema objects. This role must be granted to any database user that needs to use migration center.
PostgreSQL DB Access
In order to connect to the PostgreSQL database, the FMEMC user and the machine hosting the WebClient need to be specified in the PostgreSQL Client Authentication Configuration File (pg_hba.conf) for your PostgreSQL database installation.
We highly recommend reading the official PostgreSQL documentation for the pg_hba.conf
To give access to the database for one WebClient and one Jobserver on separate servers each, for a basic configuration, you would need to add the IPs of the servers in the pg_hba.conf file in the follwoing format:
The file can be found on the PostgreSQL server. The default path is: C:\Program Files\PostgreSQL\15\data\pg_hba.conf
Example for IPv4:
Example for IPv6:
The tablespaces and FMEMC user can be created manually via scripts, and the Database installer can be run with the FMEMC user afterwards, instead of using the SYS user. This can be done by running the scripts located in ...\Database\Oracle\Util folder of the installation kit. The scripts are:
create_tablespaces_default_location.sql or create_tablespaces_custom_location.sql
create_user_fmemc.sql
These tablespaces must be created prior to the creation of the FMEMC user.
The tablespaces can be separated or merged into any number of individual datafiles, but the tablespace’s names cannot be changed (FMEMC_DATA and FMEMC_INDEX must not be changed).
This option is useful for if the default settings for the user FMEMC and tablespaces do not meet the requirements of the customer or conflict with internal company policies and guidelines.
The FMEMC user can be created manually via script, and the Database installer can be run with the FMEMC user afterwards, instead of using the Postgres user. This can be done by running the script located in ...\postgres\Install folder of the installation kit:
create_user.sql
Custom Tablespace locations can then be specified from the Database installer if needed.
This option is useful for if the default settings for the user FMEMC do not meet the requirements of the customer or conflict with internal company policies and guidelines.
To install the migration-center database component in an Oracle instance on AWS RDS you must use the scripts provided in the ...\Database\Oracle\Util\AWS-RDS folder under the install kit. Follow the steps in this order:
run the create_tablespaces_aws_rds.sql script
run the create_user_fmemc_aws_rds.sql script
run the Database installer and use the FMEMC user to connect to your AWS RDS Oracle instance
